The most common question I get asked about Windows 10 IoT is:
Can I connect a Win 10 Pi to Wifi?
With Windows 10 IoT Core coming out of Preview, the answer is yes although with a few caveats. This blog post has been written based on my recent experience, using the newly added Wi-Fi support for all connectivity requirements on a Windows IoT Project.

Positives:
- Easy to set up
- All the functionality of a wired connection
- Set up and forget
Negatives:
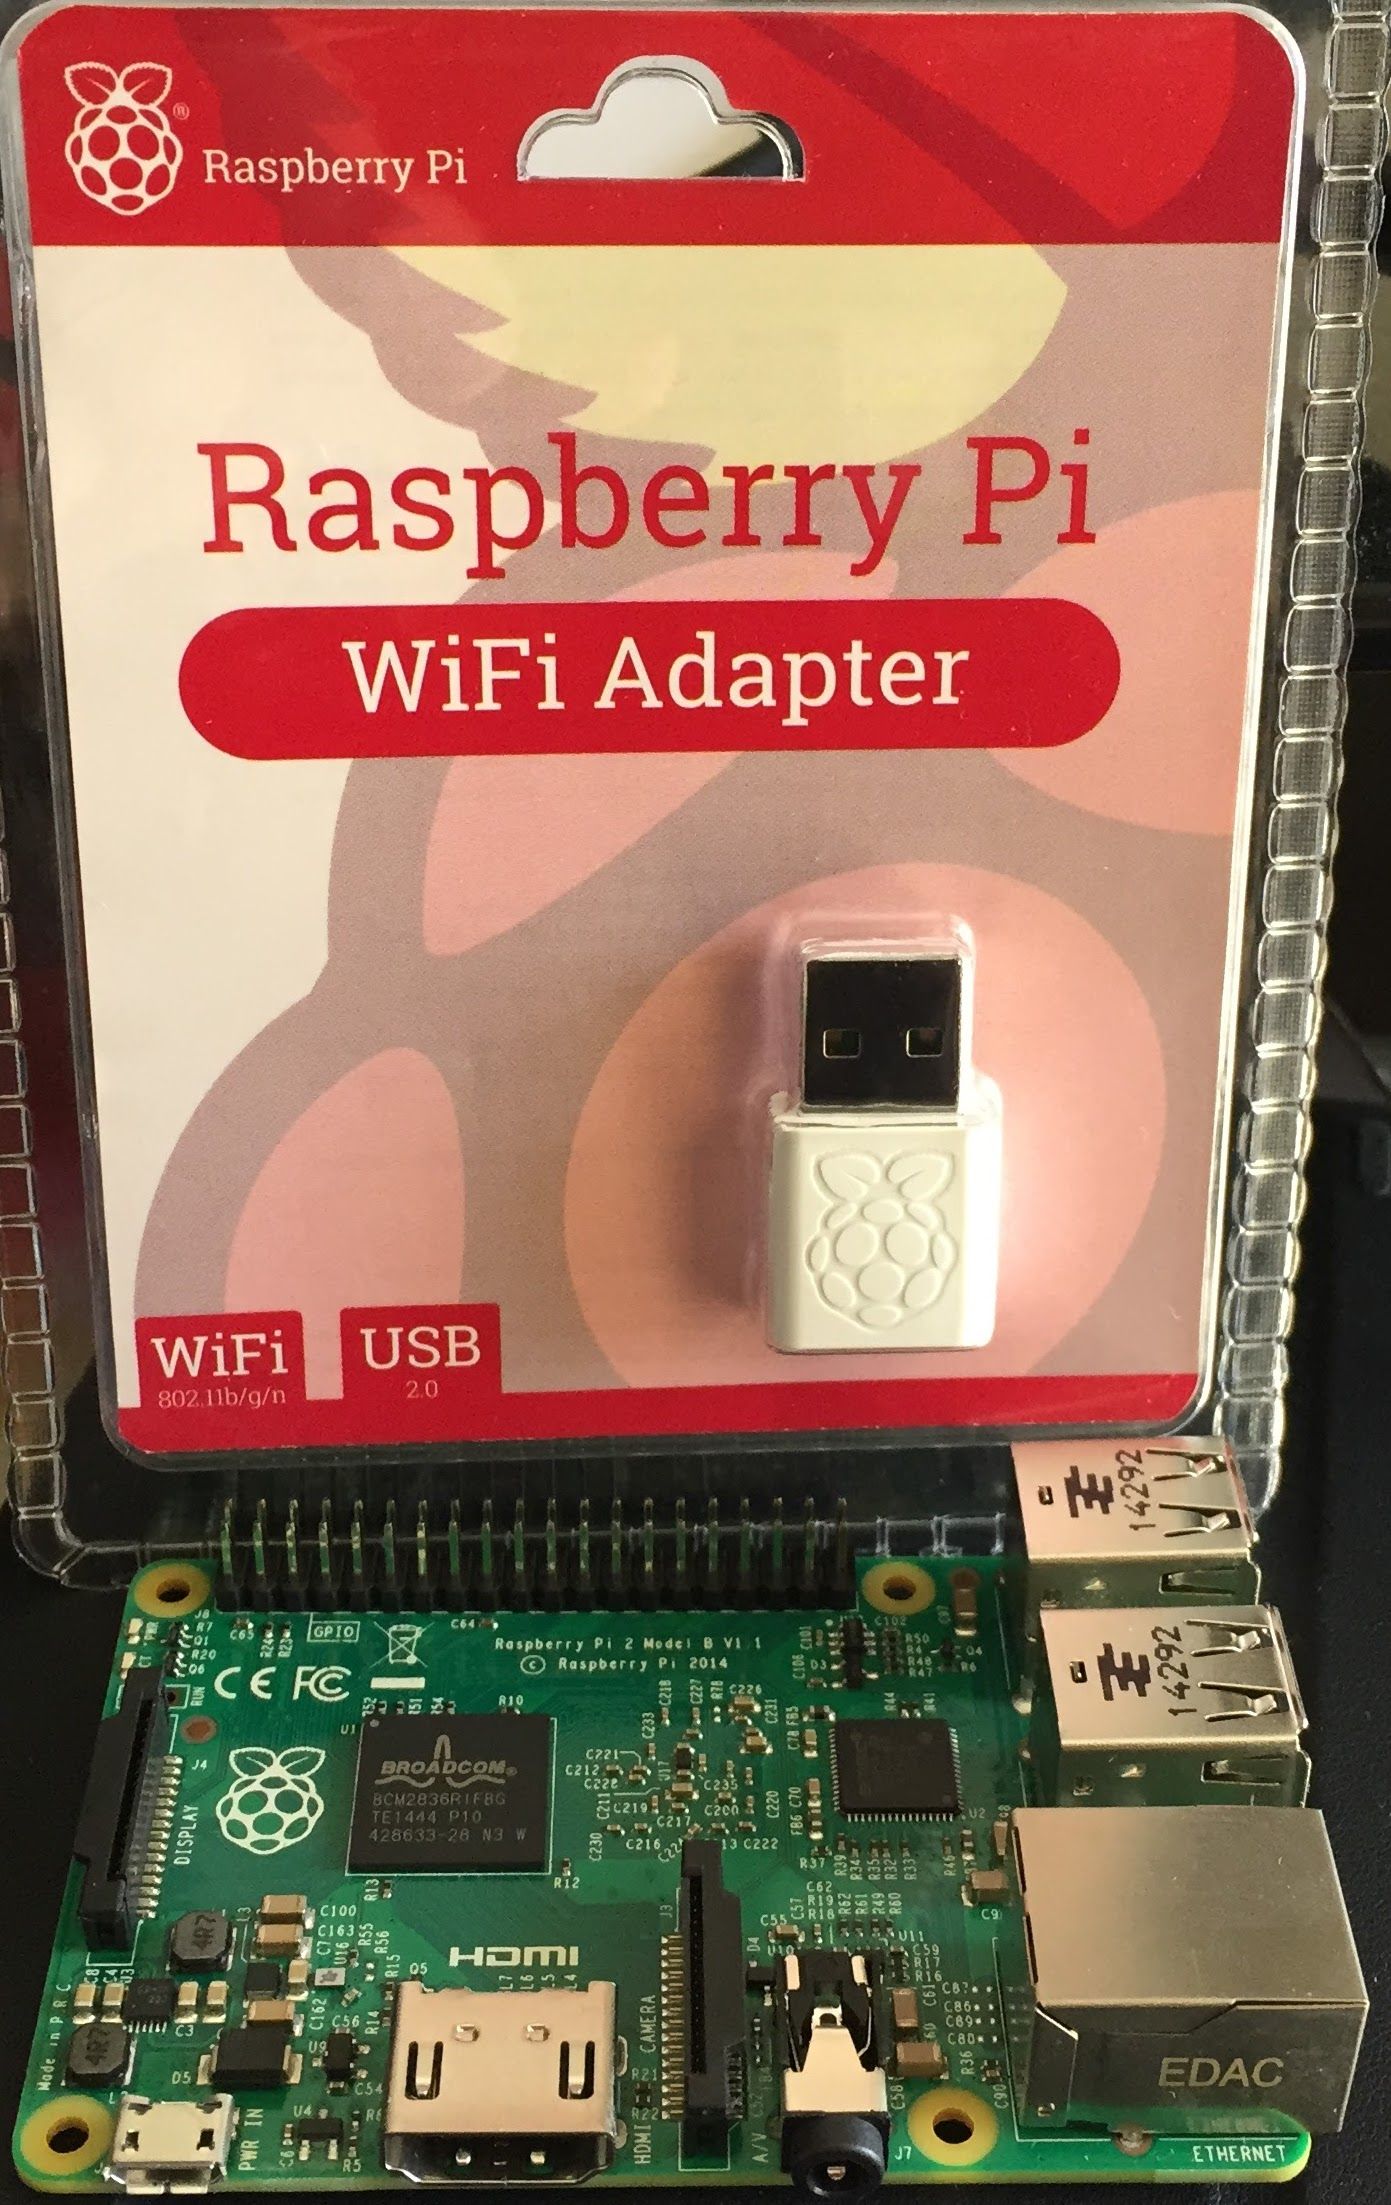
- Only one Supported Adapter for the Raspberry Pi 2, the official ‘Raspberry Pi WiFi Dongle’
- Each Pi must be configured individually
- Windows IoT Core watcher desktop application is unable to detect any Pis connected to the network via WiFi

Verdict:
The WiFi adapter is very easy to set up, annoying only a single adapter is currently supported. I found this not to be an issue due to the official ‘Raspberry Pi WiFi Dongle’ being easly sourceable from the official Pi store.
The only major blocking issue is with the Windows IoT Core watcher desktop application, which makes deploying to a headless device tedious. Therefore, I can only recommend switching to the Wifi adapter if your Pi is connected to a screen.
Set up WiFi on your Windows 10 IoT Raspberry Pi 2
Step 1 -Ensure connectivity
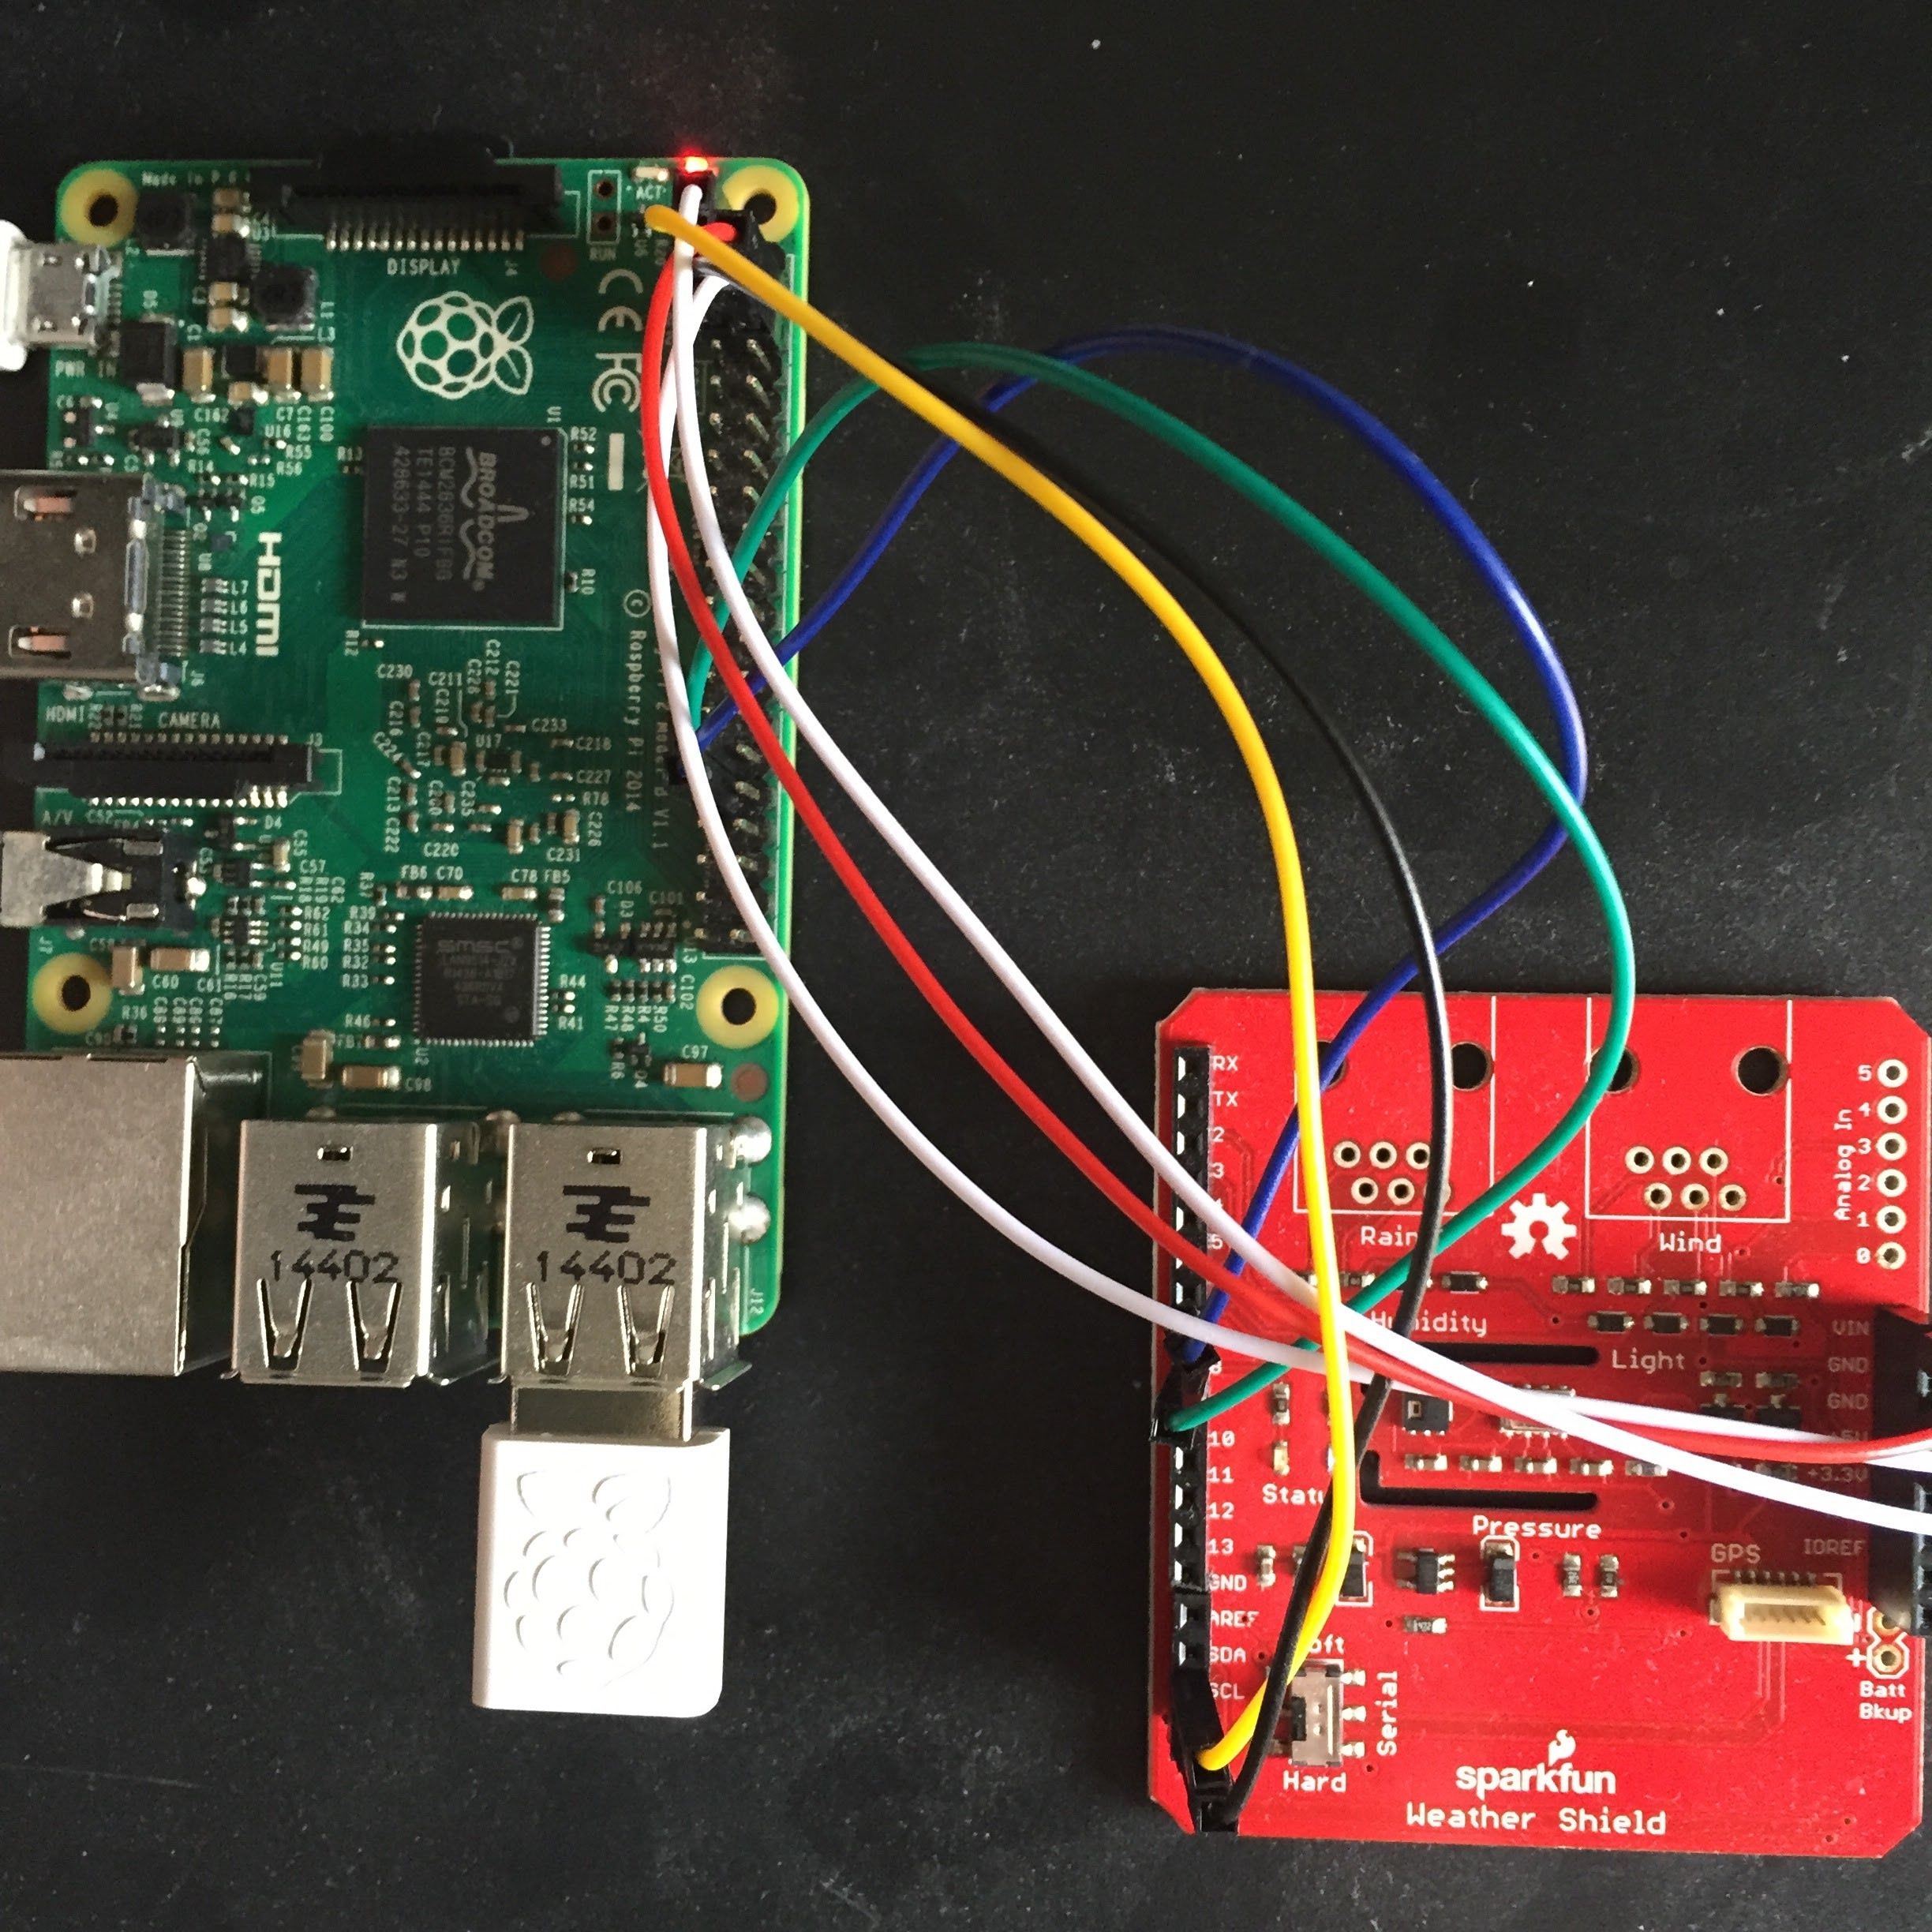
Before we begin make sure your Raspberry Pi 2 is connected to your local network through Ethernet and plug in the USB WiFi Adapter.
Step 2 - Access the web-based management on your Pi
Using a web browser, go to HTTP://your_Pis_ip_address:8080/wifimanager.htm and login to your Pi as the Administrator.
Step 3 - Configure the WiFi connection
Under Available networks, select the network you would like to connect to and supply the required credentials.
Be sure to tick’Auto re-connect.’
Click Connect to initiate the connection.

Now remove the ethernet cable, you’ll see that your Pi has successfully connected to the WiFi network.
Feel free to tweet me comments, feedback or questions to @ChrisBriggsy.
