
Do you need a lightweight reliable database? Does it need to work without an internet connection? Do you want to save yourself a mountain of configuration…Then the answer is SQLite!
What is SQLite
SQLite Database Engine is a process library that provides a serverless (self-contend) transactional SQL database engine. It has had a large impact on game and mobile application development, due to its portability and small footprint.
Why use Sqlite
- Has a small memory footprint
- It is reliable
- No set up prior to use
- Has no dependencies
1.Create a new universal application
In this tutorial, the Windows 10 universal application I create will be called SQLitePiExample .
2.Install the SQLite Visual Studio extension for Visual Studio 2015
Download and install the pre-release version of SQLite Visual Studio extension for Visual Studio 2015 RC which can be found here.
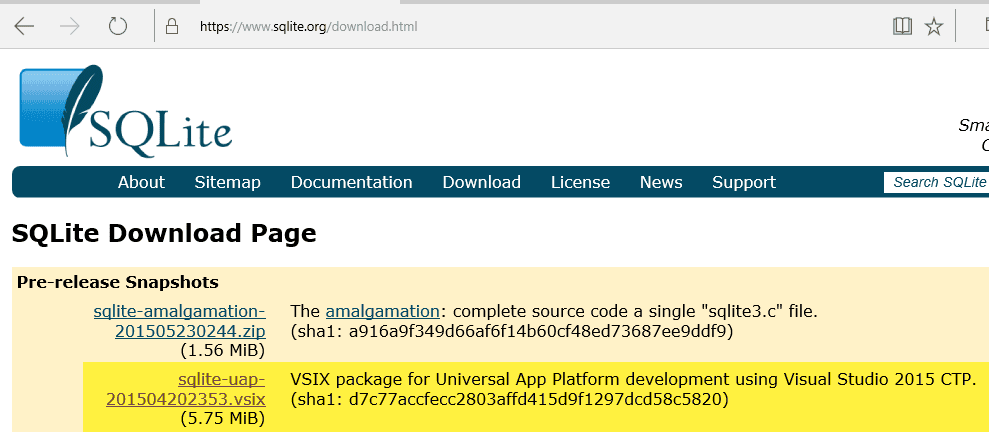
At the time of writing this blog post, the VSIX package for Universal App Platform development is in beta.
3.Add the following nuget packages
Run the following commands in the Package Manager Console:
- Install-Package SQLite.Net-PCL
4.Add the required references
Add the following required references from the SQLite extension installed in Step 2:
- SQLite for Universal App Platform
The reference can be found under Windows Universal -> Extensions.
5.Update mainpage.xaml
First let’s create the UI for this universal application.
6.Create the message model
Now we need to create a model for the data that we want to store with SQLite. This model is translated into a table within our local database.
The only difference between a regular model and one being using for SQLite is that we have to add some additional attributes, for example:
[PrimaryKey, AutoIncrement]
Please note that to make use of these attributes you must add the following reference.
- using SQLite.Net.Attributes;
7.Wiring it all up
Go to the code behind the Mainpage.xmal and add the following.
What does the code above do?
- Locate the SQLite file will be using to store the data (SQLite will automatically create it)
- Set up a connection to the database
- Creates a table based upon the message model we created in step 6
- On the ‘Add’ button being clicked, the app will commit the content of the textbox into the SQLite DB
- On the ‘Retrieve’ button being clicked, the app will fetch all of the messages added and display them in the text block
An error occurred!
If this is your first time deploying to the Raspberry Pi please read my post on Getting Started.
Feel free to tweet me comments, feedback or questions to @ChrisBriggsy.